This is going to be interesting... Let's take a look at three different polishes tonight! A-England Elaine, Sonoma Nail Art Sonoma Sunset, and a Polish Bar prototype that became Berry Shimmer. I'm going to attempt to do this in as much order as I can, so I hope it doesn't get too convoluted!
*I was not financially compensated for this post. All items in this review were purchased by me or swapped for by me for my own use. The opinions are completely my own based on my experience. For more information, please see my Disclosure Policy in the tab above.*
A-England Elaine
Color: Deep purple
Finish: Crème – a flat polish that finishes smooth with full opacity.
Bottle / Brush: Square bottle – long cap with standard size wand. Average application with standard brush.
Opacity: High – opaque at two coats!
Glitter Application: N/A
Consistency: Medium – applies easily and doesn’t flood the cuticles.
Overall Ease of Application: Easy – applies well without pooling, dragging, streaking, or balding. Spreads evenly and smoothly.
Stampability: Not tested for stamping.
Dry Time: Medium – dry to the touch with minimal smudging in 3-8 minutes. Overall Thoughts: Elaine is the perfect purple creme. It applies with ease and looks beautiful and smooth without any manipulation. Just a perfect, creamy, vampy purple that looks great on its own as well as with glitters layered on top. I purchased my A-Englands at Llarowe.
Sonoma Nail Art Sonoma Sunset
Color: Clear base with purple, periwinkle, gun metal, and fuchsia hexes
Finish: Glitter Top Coat – glitter in a clear base to be worn as a top coat.
Bottle / Brush: Round bottle brush – both the wand and the brush are standard width and length. Easy to control and manipulate.
Opacity: Glitter topcoat – not designed for full opacity.
Glitter Application: Impossible – pools at the cuticles, difficult to spread the glitters evenly, leaves large bald spots unless you apply more than one coat. You have to be careful because if you try to get enough glitter on your nail with just one coat, it will pool and bulge unevenly on one side and bubble when dry. The glitter to base ratio is off. This is two coats.
Consistency: Super thin – runny and floods the cuticles easily.
Overall Ease of Application: Hard – pools at the cuticles. Does not spread well without massive manipulation.
Stampability: Not designed for stamping.Dry Time: Long – dry to the touch with minimal smudging in over 8 minutes. Overall Thoughts: I think I'm just not in love with Sonoma's formula and consistency. I love her glitter combinations, but every glitter topper I've tried has had a glitter-to-base ratio that leans heavily in favor of the base. That's even after storing it upside down for quite a while and rolling to mix it! I almost always have to use at least two coats to get the glitter coverage I want. It's really pretty, though, and I love the effect over Elaine. You can purchase Sonoma Nail Art polishes at her Etsy store. Follow Michelle on Facebook for news on restocks and new additions to her line. Oh, and so you know, she has polishes listed right now! That's a bit of an anomaly. If you want some of her pretties, get over there stat!
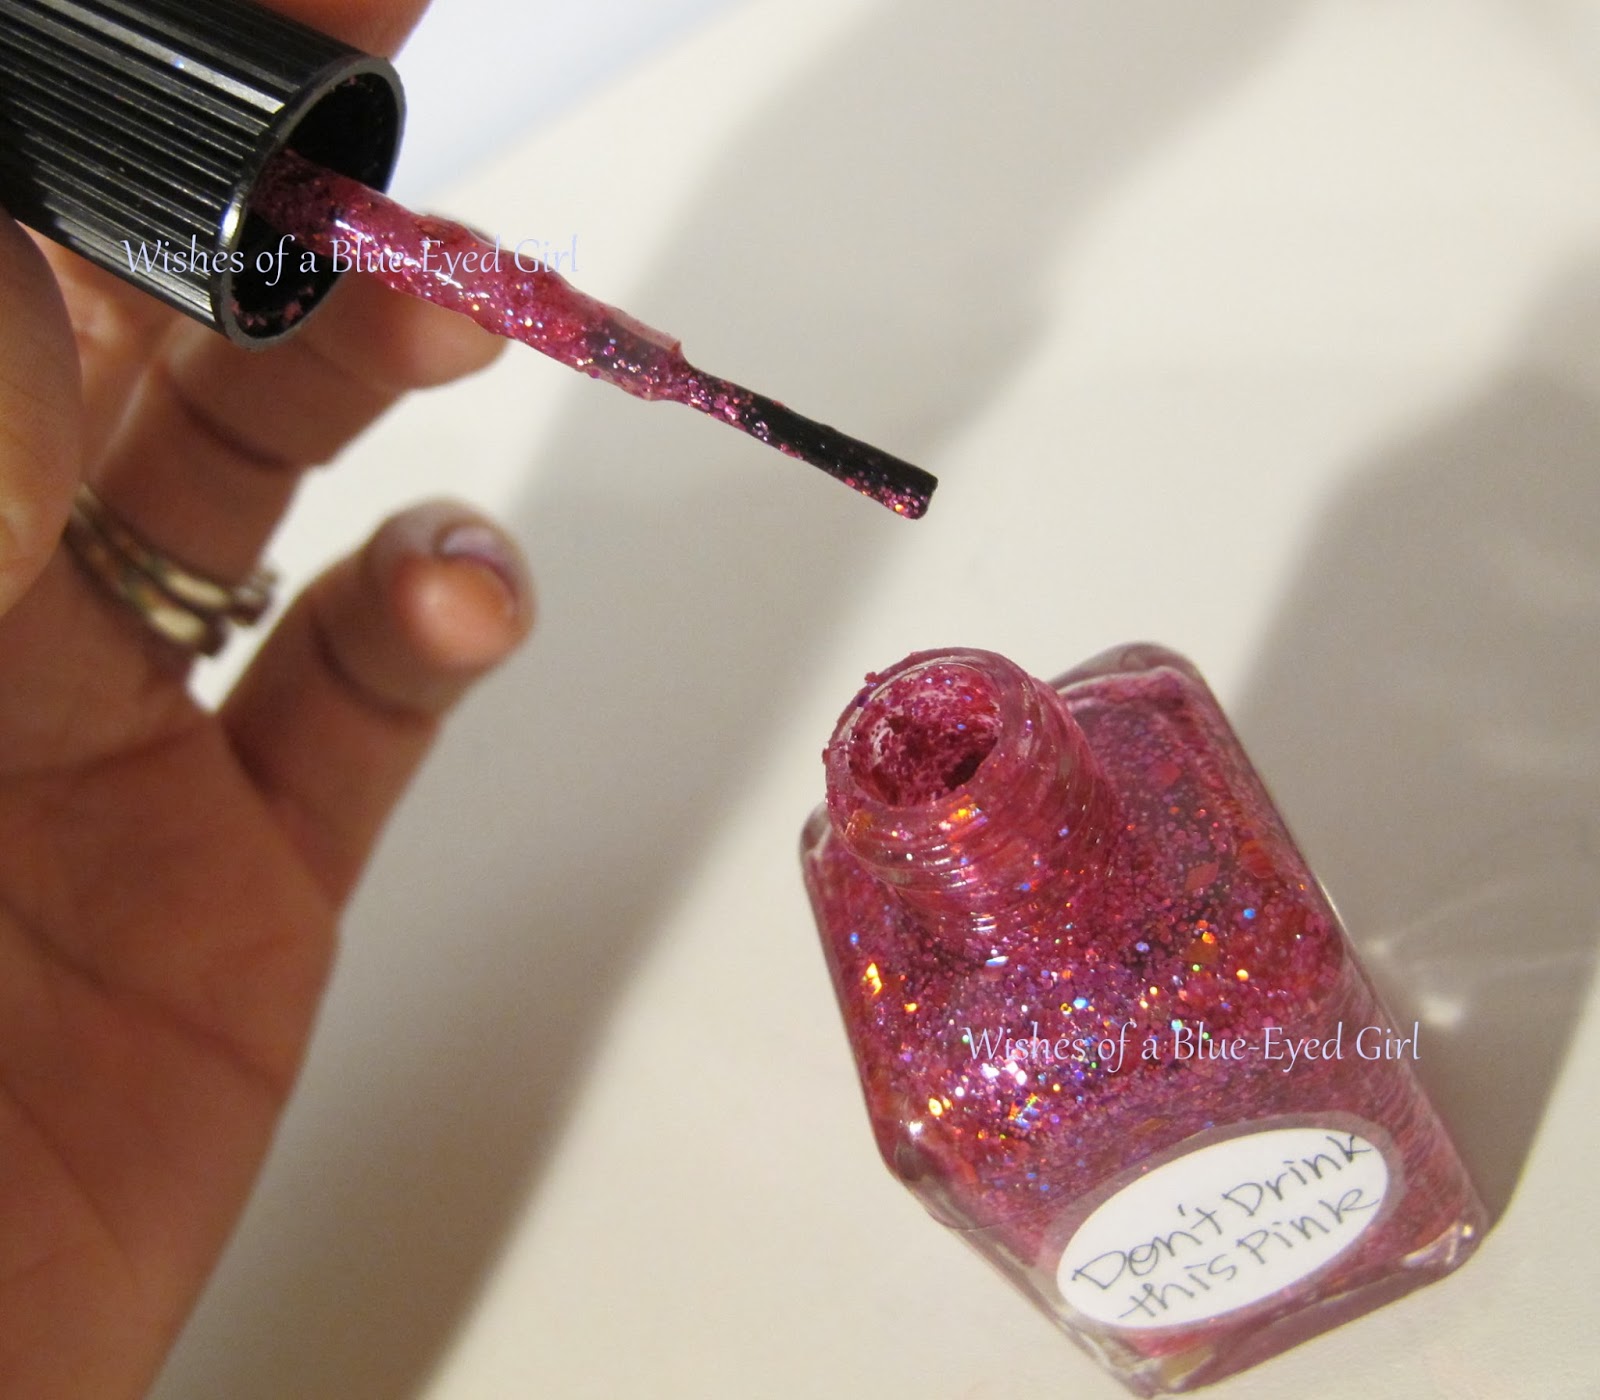
The Polish Bar Berry Shimmer
Color: Clear base with hot pink and purple hexes, squares, and shreds.
Finish: Glitter Top Coat – glitter in a clear base to be worn as a top coat.
Bottle / Brush: Round mini bottle – wand and brush are just long enough to reach the bottom of the bottle. However, the fact that it’s a mini makes application a little tricky. Requires a steady hand to apply evenly without pooling.
Opacity: Glitter topcoat – not designed for full opacity.
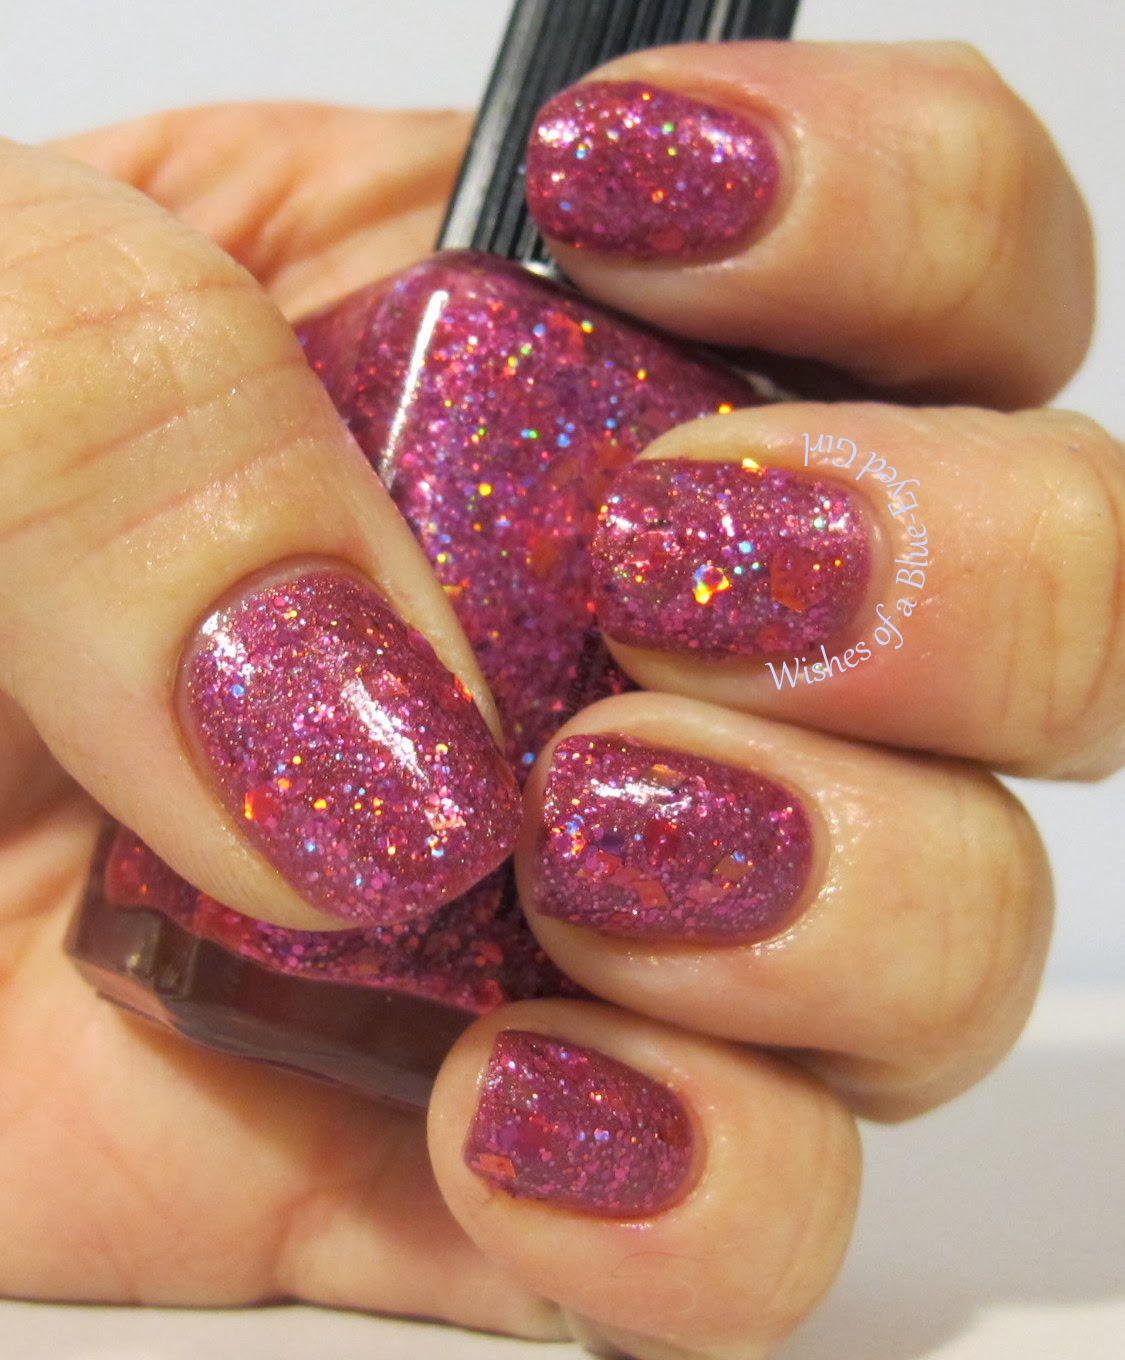
Glitter Application: Easy – Spreads evenly without much manipulation.
Consistency: Medium – applies easily and doesn’t flood the cuticles.
Overall Ease of Application: Easy – applies well without pooling, dragging, streaking, or balding. Spreads evenly and smoothly.
Stampability: Not designed for stamping.
Dry Time: Quick – dry to the touch without smudging in under 3 minutes. Overall Thoughts: If you haven't tried out the Polish Bar, you should. This is one of my favorite glitter toppers, and I'm sad I only have a mini! I received this beauty in a hand-made polish swap I participate in every couple of months. The consistency is perfect. Unlike other glitter topcoats, it isn't clumpy and it doesn't pool or bulge. It's bright and fun and goes well with Elaine topped with Sonoma Sunset. The holo bits shine brightly and make this polish seriously bling-tastic. Absolutely gorgeous! You can purchase The Polish Bar polishes from her Etsy shop. Also, follow Janice on Facebook for news and updates.
Which is your favorite glitter topper?