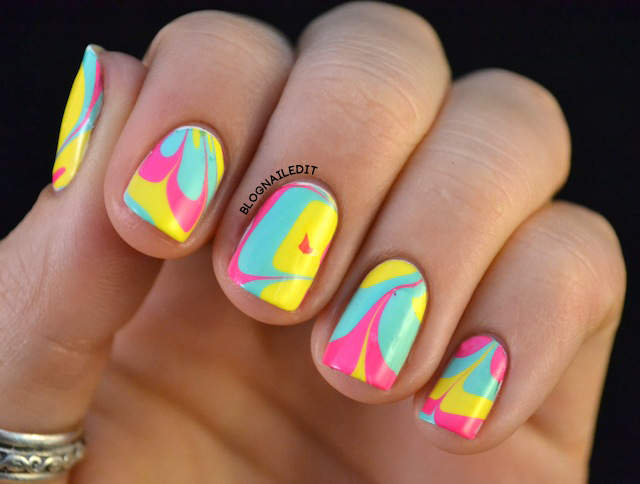

I used colors from my favorite China Glaze collection, Up and Away: Four Leaf Clover, Happy Go Lucky, and Heli-Yum. It was a pretty easy selection, and they go really well together.
I used cutepolish's tutorial and it worked wonderfully. Her tips about blowing on the surface of the water and the way she twisted her toothpick to pick up the dried polish on the surface of the water were really clever.
I also learned that you need to be careful about where you place your design. I drew designs in different places on the cup, depending on which hand was going to be dipped. Then I wouldn't have to twist my hand into uncomfortable positions to properly dip the nail in the design.
One additional tip I have to offer is to combine the use of tape and Vaseline. I've heard of people using both techniques separately, but I figured...
 |
| ¿Porque no las dos? |
Cleanup was much simpler than I thought it would be, and I partially contribute that to my color choices. Black water marbling would probably be a royal pain, but yellow, pink, and teal are much easier. I mainly contribute it to the Vaseline-tape combo I used.
I love that endearing little spot on my middle finger. I'll name it Spot.
No comments:
Post a Comment